Physical Address
304 North Cardinal St.
Dorchester Center, MA 02124
Physical Address
304 North Cardinal St.
Dorchester Center, MA 02124
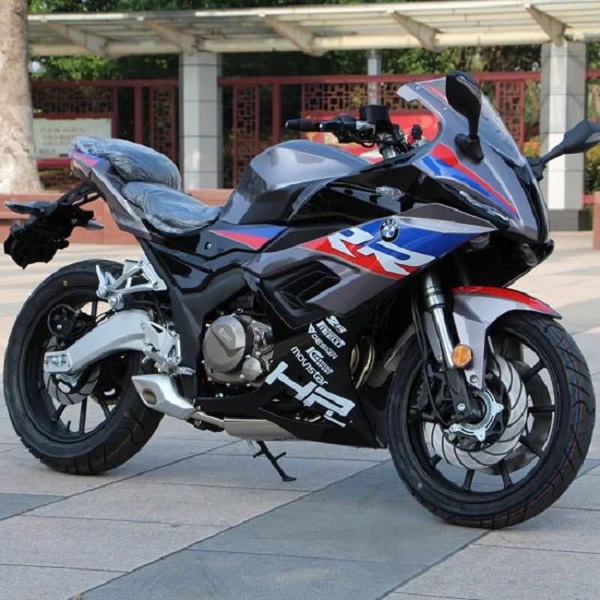
Selecting the perfect vinyl wrap is critical to elevating the look of your motorcycle. You want a balance of style, protection, and longevity from the vinyl wrap you choose.
When picking out vinyl for your motorcycle, consider these key elements:
Incorporating these factors will lead you to a vinyl wrap that not only suits your aesthetic preferences but also offers protection and ease of maintenance for your motorcycle.
Several reputable brands offer premium vinyl wraps. Some well-known names include:
Remember to align the brand and material you select with your wrapping goals. Seek brands that specialize in the type of look and protection you aim to achieve. With a little research and careful selection, your motorcycle will not only turn heads but also have a wrap that lasts for years.
Before you begin wrapping your motorcycle, preparation is key. A clean and disassembled bike ensures the wrap adheres correctly and looks seamless.
Start with a thorough clean. Dust and grime can prevent the vinyl from sticking properly. Use a quality cleaner and a microfiber cloth for best results. Finish with an isopropyl alcohol wipe down for a spotless surface.
Taking parts off your motorcycle allows for precise application. Remove mirrors, seats, and trim pieces carefully. Keep track of screws and components for reassembly. This step is vital for reaching every nook and avoiding wrinkles in your wrap.
To wrap your motorcycle effectively, having the right tools is a must. Use this checklist to get started.
Begin with essentials like a squeegee for smoothing out the vinyl and a heat gun for shaping the wrap around curves. Don’t forget precision knives for trimming and a microfiber cloth to clean surfaces. Isopropyl alcohol is also necessary for pre-wrap cleaning.
For intricate parts, an air release tool can help eliminate bubbles. You might also require gloves to protect your hands and minimize fingerprints on the wrap. Additionally, consider using a wrap glove to reduce friction and prevent damage while applying vinyl. Infrared thermometers are useful for monitoring heat gun temperature, ensuring vinyl isn’t overheated.
Wrapping your motorcycle changes its look and protects it. This section tells you how to do it yourself.
Start with flat parts likes the tank. Clean the surface with alcohol and a microfiber cloth. Measure the vinyl, leaving extra for adjustments. Peel back the vinyl backing a bit. Stick the vinyl to the bike, starting from one end. Use a squeegee to push out air bubbles and wrinkles. Keep the vinyl tight, but do not overstretch it. Trim the edges carefully with a precision knife.
Curves need more work. Use a heat gun to soften the vinyl. This makes it bend around curves and edges. Heat it just enough to stretch without ruining the material. Press the vinyl into crevices with your fingers or a soft tool. Take care while trimming the excess. Make sure the vinyl wraps under the edges for a clean finish. Let it cool to set the shape.
Caring for your wrapped motorcycle is just as important as wrapping it. Here’s how to maintain its looks and longevity.
A clean wrap lasts longer and looks better. Use gentle cleaners and a soft microfiber cloth. Rinse with water and avoid harsh chemicals. Always use mild soaps and avoid power washing to prevent damage. Wipe the wrap gently, never rub hard. Clean spills fast to prevent stains. Regular care keeps your wrap fresh and vibrant.
Your wrap faces sun, rain, and wind. Protect it to extend its life. Park in the shade to reduce UV damage. Use a cover if parking outdoors for long periods. This keeps the wrap safe from sun and bad weather. Keeping your motorcycle out of extreme temperatures helps too. Wrap care solutions can add extra protection. They protect against UV rays and grime. They help maintain the color and finish of your wrap.
Undertaking a motorcycle wrap project requires a thoughtful cost analysis to determine which route—DIY or professional services—best suits your budget and skills.
When contemplating a DIY wrap, materials are your primary expense. You’ll need to purchase high-quality vinyl, which can vary in price from moderate to expensive depending on the brand. Tools such as a heat gun, squeegee, precision knives, and a microfiber cloth add to costs. While initially it seems pricey, remember these tools can be reused for future projects.
Budget around $200 to $600 for DIY materials, keeping in mind that prices fluctuate based on vinyl quality and tools chosen. This estimate does not include your time, which is also a valuable resource.
Should you opt for a pro? Consider several factors. Your own level of confidence and experience in wrapping should be paramount in decision-making. Professionals ensure a flawless result, often backed by a warranty, but at a higher cost—usually between $1,500 to $4,000.
Turn to a professional if the task appears too complex or if you desire a guarantee on materials and labor. This is especially true for intricate designs or high-end motorcycles where mistakes can be costly. Nonetheless, weigh the benefits of learning a new skill against the convenience of professional expertise.
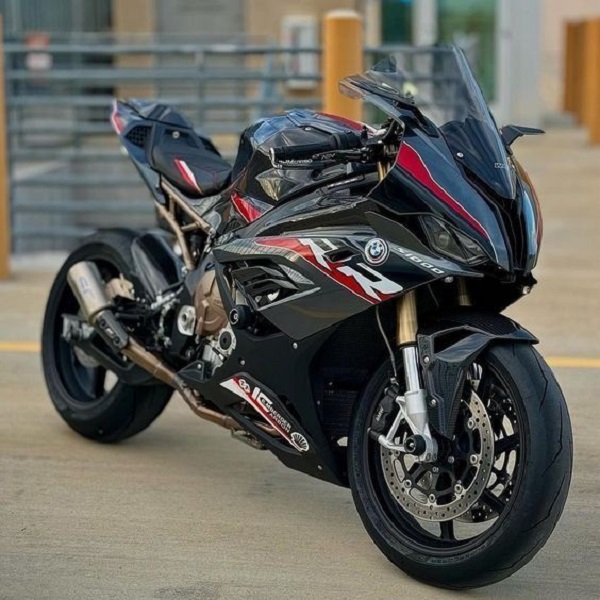
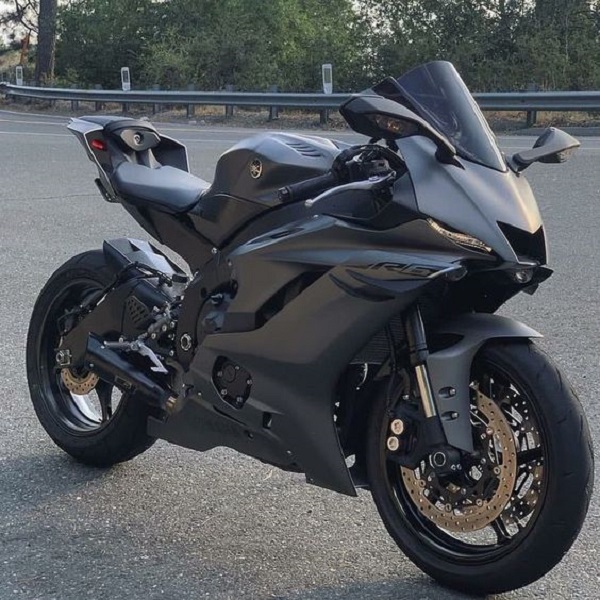
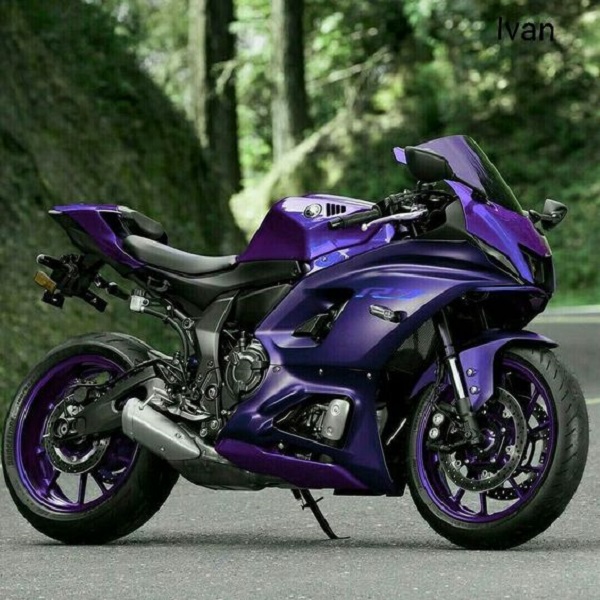
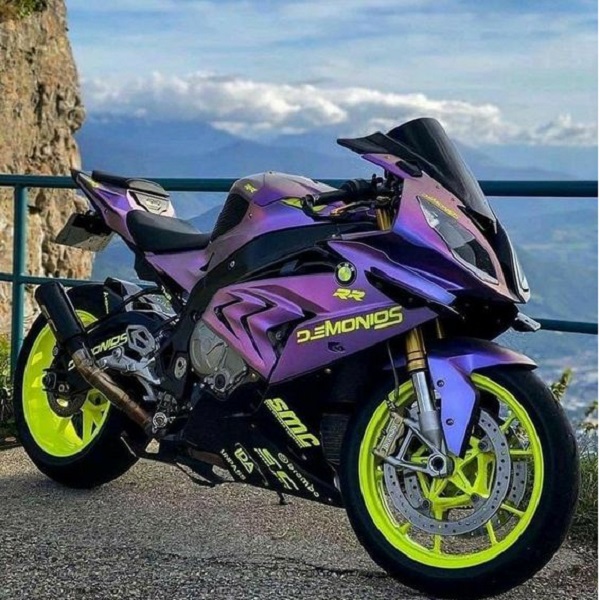
Personalizing your motorcycle with a custom vinyl wrap sets it apart from the rest. Creative designs offer you the chance to express your unique style while riding. With RAXTiFY wraps and other top brands, the options are limitless. From bold colors to intricate patterns, you can tailor your bike’s look to your taste.
Start by thinking about what excites you. Are you into sleek racing stripes or are you more of a flair person with elaborate graphics? Vinyl wraps come in various finishes like matte, glossy, and even textured options like carbon fiber. Exploring these choices helps you pick a wrap that turns heads.
3M and Avery Dennison provide wraps in vibrant hues. Metro Restyling offers specialty finishes that reflect your personality. Use these resources to find a wrap that resonates with your vision. Mix and match colors or textures for a one-of-a-kind effect.
To stand out, consider the following:

Opt for a unique vinyl wrap and follow these tips to ensure your motorcycle not only catches eyes but also perfectly illustrates your individuality. With care, your wrapped bike will serve as a proud expression of your personal brand on the road.
When wrapping your motorcycle, mistakes can not only cost you time and materials but also affect the final look. Here are some pitfalls to be wary of:
By steering clear of these errors and proceeding with care, your motorcycle wrap will be set for success.
During the wrapping process, you might encounter issues. Here are some tips to overcome common challenges:
Addressing these issues promptly and properly will improve your wrapping skills.
To guarantee your motorcycle’s wrap lasts long and stays in prime condition, stick to these practices:
Persisting with proper care and maintenance will keep your motorcycle wrap looking impeccable for years to come.