A well-maintained motorcycle chain is crucial for a smooth, safe, and enjoyable ride. A loose chain can cause a variety of problems, including jerky acceleration, decreased fuel efficiency, and even premature chain and sprocket wear. On the other hand, an overly tight chain can put undue stress on the drivetrain components and lead to premature failure.
This comprehensive guide will equip you with the knowledge and steps needed to tighten your motorcycle chain like a pro. Whether you’re a seasoned rider or a new motorcycle owner in 2024, this guide will empower you to maintain your chain for optimal performance and longevity.
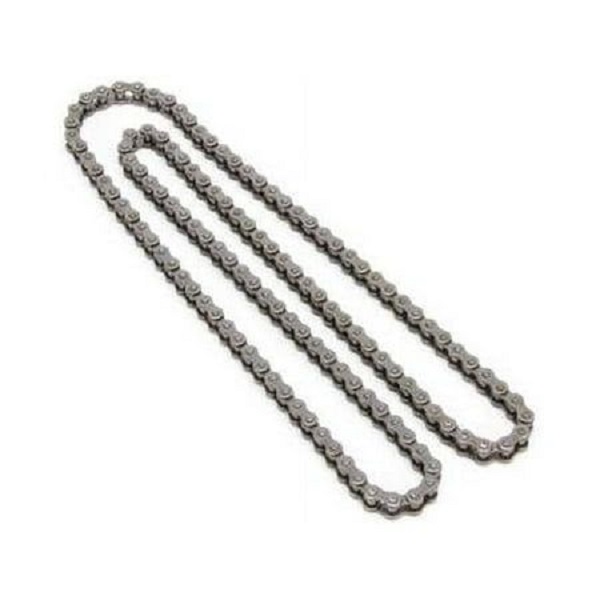
Understanding Your Motorcycle Chain
Before diving into the tightening process, it’s important to understand the basic components of your motorcycle chain:
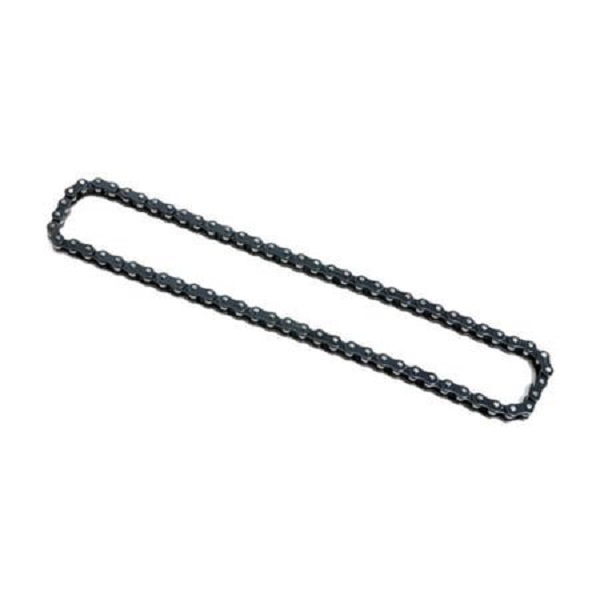
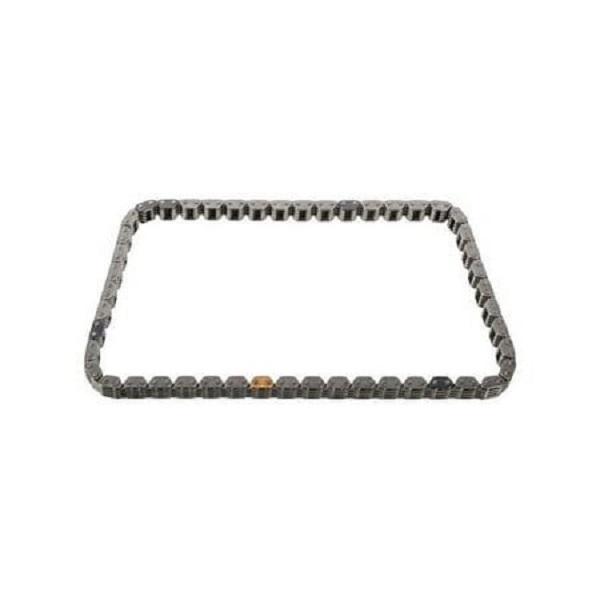
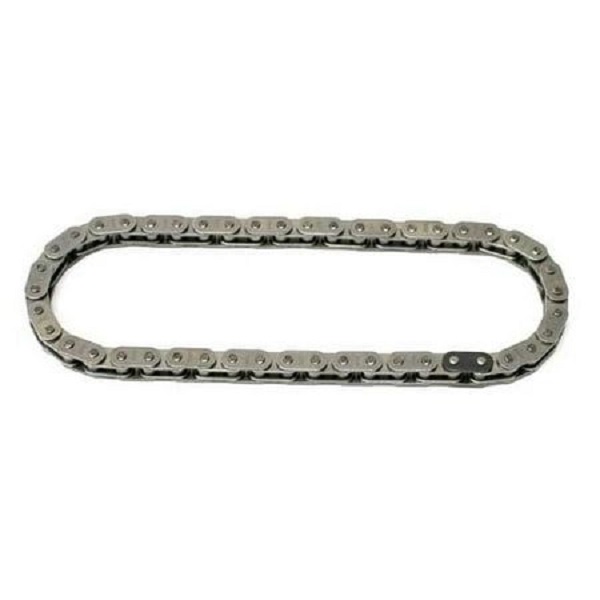
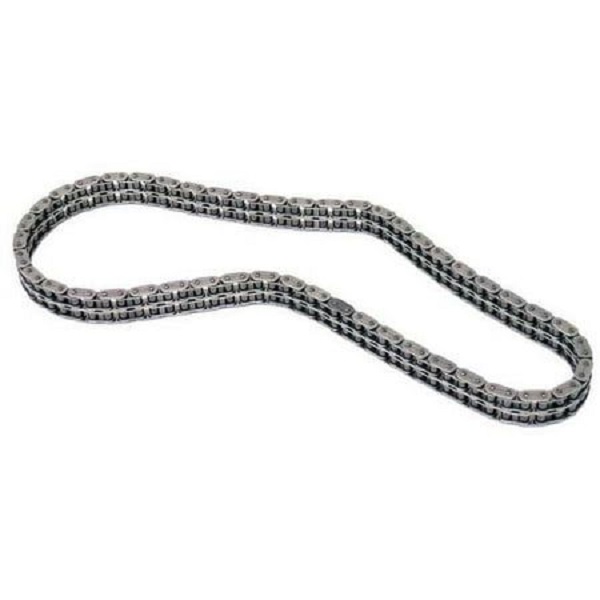
- Links: The chain is comprised of alternating inner and outer links that interlock to form a continuous loop. These links are specifically designed for strength and flexibility.
- Chain rollers: Located between the inner and outer links, the chain rollers make contact with the sprocket teeth and facilitate smooth power transfer.
- Master link: The master link allows for easier chain removal and installation. It typically features a clip or rivet mechanism for secure connection.
The chain’s slack, also known as free play, refers to the up-and-down movement of the chain between the sprockets. Proper chain slack is crucial for optimal performance and preventing damage.
Signs Your Motorcycle Chain Needs Tightening
Here are some telltale signs that indicate your motorcycle chain needs tightening:
- Excessive chain slack: If the chain has more up-and-down movement than specified in your motorcycle’s manual, it’s definitely time to tighten it.
- Slapping sound: A loose chain can slap against the chain guard or swingarm, producing a noticeable slapping sound while riding.
- Jerky acceleration: A loose chain can cause a jerky feeling during acceleration as the chain takes up slack.
- Uneven chain wear: Excessive slack can contribute to uneven wear on the chain rollers and sprockets.
Ignoring a loose chain can lead to significant repair costs down the road. By addressing it promptly, you can save yourself time, money, and potential safety hazards.
Tools and Equipment You’ll Need
Before embarking on the tightening process, gather the necessary tools and equipment:
- Motorcycle owner’s manual: Refer to your specific motorcycle’s manual for the recommended chain slack specifications.
- Socket wrench set: You’ll need a socket wrench that fits the size of the axle nut on your rear wheel.
- Adjustable wrench (optional): An adjustable wrench can be helpful for holding the counter-nut on some chain adjusters.
- Chain slack tool (optional): While not essential, a chain slack tool can simplify the measurement process.
- Rear wheel stand (optional): A rear wheel stand lifts the rear wheel off the ground, making the process easier and more convenient. However, it’s not always necessary.
Always ensure your motorcycle is in neutral and on a stable, level surface before beginning any maintenance work.
Step-by-Step Guide to Tightening Your Motorcycle Chain
Now that you have the knowledge and tools, let’s walk through the steps of tightening your motorcycle chain:
-
Consult your owner’s manual: Refer to your specific motorcycle’s manual for the recommended chain slack specifications. This measurement is typically given in millimeters (mm) and can vary depending on the model and chain size.
-
Locate the chain adjusters: On most motorcycles, the chain adjusters are located on either side of the rear axle. They typically consist of a bolt with locknuts on both sides.
-
Loosen the locknuts: Using your socket wrench, loosen the locknuts on both sides of the chain adjuster bolts. These locknuts prevent the adjuster bolts from moving unintentionally.
-
Adjust the chain tension: Turn the chain adjuster bolts in small increments, equally on both sides. As you tighten the bolts, the rear wheel will move slightly forward, tensioning the chain.
-
Re-check the chain slack: After each adjustment, refer to your manual and use the chain slack tool (or a ruler) to measure the chain’s up-and-down movement between the sprockets. Aim to achieve the slack specified in your manual.
Pro Tip: It’s best to tighten in small increments and re-check the slack after each adjustment to avoid over-tightening the chain.
- Tighten the locknuts: Once you’ve achieved the desired chain slack, securely tighten the locknuts on both sides of the chain adjuster bolts using your socket wrench. Ensure they are snug but not overtightened.
-
Final Touches:
- Double-check the chain slack: Re-measure the chain slack one last time to ensure it remains within the specified range.
- Torque the axle nut (optional): If you used a rear wheel stand, consult your manual for the proper torque specifications for the rear axle nut and tighten it accordingly. This step is crucial to ensure the wheel is securely mounted.
- Safety check: Before taking off, spin the rear wheel by hand and visually inspect the chain for any uneven wear or damage. Listen for any unusual noises.
A properly tightened chain should have a slight up-and-down movement within the specified range. It should not be excessively loose or stiff.
Additional Tips for Maintaining Your Motorcycle Chain
Here are some additional tips to keep your motorcycle chain in top condition:
- Regular cleaning and lubrication: Regularly clean and lubricate your chain according to your motorcycle’s maintenance schedule and riding conditions. This helps remove dirt, grime, and prevent rust, promoting smooth operation and extending chain life.
- Inspect for wear and tear: During routine maintenance, visually inspect your chain for signs of wear and tear, such as stretched links, worn rollers, or damaged O-rings (if applicable). Replace the chain and sprockets as a set when they reach their wear limit.
- Adjust chain tension regularly: Chain slack can change over time due to wear and tear. Make it a habit to check and adjust the chain tension periodically, especially after cleaning and lubricating the chain.
By following these tips, you can ensure your motorcycle chain delivers optimal performance and longevity, contributing to a smooth, enjoyable riding experience.
Benefits of a Properly Maintained Motorcycle Chain
A well-maintained motorcycle chain offers a multitude of benefits:
- Improved performance: A properly adjusted chain transfers power more efficiently, leading to smoother acceleration and better fuel economy.
- Reduced wear and tear: A correctly tensioned chain minimizes stress on the chain, sprockets, and other drivetrain components, extending their lifespan and reducing the need for expensive replacements.
- Enhanced safety: A loose chain can cause jerky movements and unexpected behavior, potentially leading to safety hazards. Maintaining proper chain tension ensures a more predictable and controllable ride.
- Peace of mind: Knowing your chain is in good condition allows you to focus on the ride and enjoy the journey without worrying about potential breakdowns.
Investing a little time and effort into maintaining your motorcycle chain is a wise decision that pays off in the long run.
Gearing Up for a Smooth Ride: Essential Motorcycle Maintenance Tools
Equipping yourself with the right tools can simplify and streamline your motorcycle maintenance routine, including chain cleaning, lubrication, and adjustments. Here are some essentials to consider:
- Motorcycle chain cleaning kit: A chain cleaning kit typically includes a chain cleaner, degreaser, chain brush, and lubricant.
- Chain lube: Choose a high-quality chain lube specifically designed for motorcycle chains.
- Chain slack tool (optional): While not mandatory, a chain slack tool can make measuring chain slack more convenient and accurate.
- Socket wrench set: A basic socket wrench set will come in handy for various maintenance tasks, including chain adjuster bolts and the rear axle nut (if applicable).
- Motorcycle stand (optional): A rear wheel stand or paddock stands can elevate the motorcycle for easier access to the chain and wheels.
Having the right tools readily available empowers you to take charge of your motorcycle’s maintenance and keep it running smoothly.
Hitting the Road with Confidence: The Importance of Motorcycle Maintenance
Regular motorcycle maintenance is crucial for ensuring your motorcycle operates safely, reliably, and performs at its peak. A well-maintained motorcycle is not only enjoyable to ride but also retains its value for longer.
By incorporating chain maintenance into your routine, you’ll be contributing to the overall health of your motorcycle and extending its lifespan.
Embrace the satisfaction of taking care of your machine and experience the confidence that comes with knowing your motorcycle is ready to conquer the road!